All the models generated on maps3d.io can be 3D printed, when creating your model you have a few settings you can tweak in order to obtain the best result.
Mesh – Hollowed out
You can hollow out the model, this creates an inside mesh and helps you save material when printing.
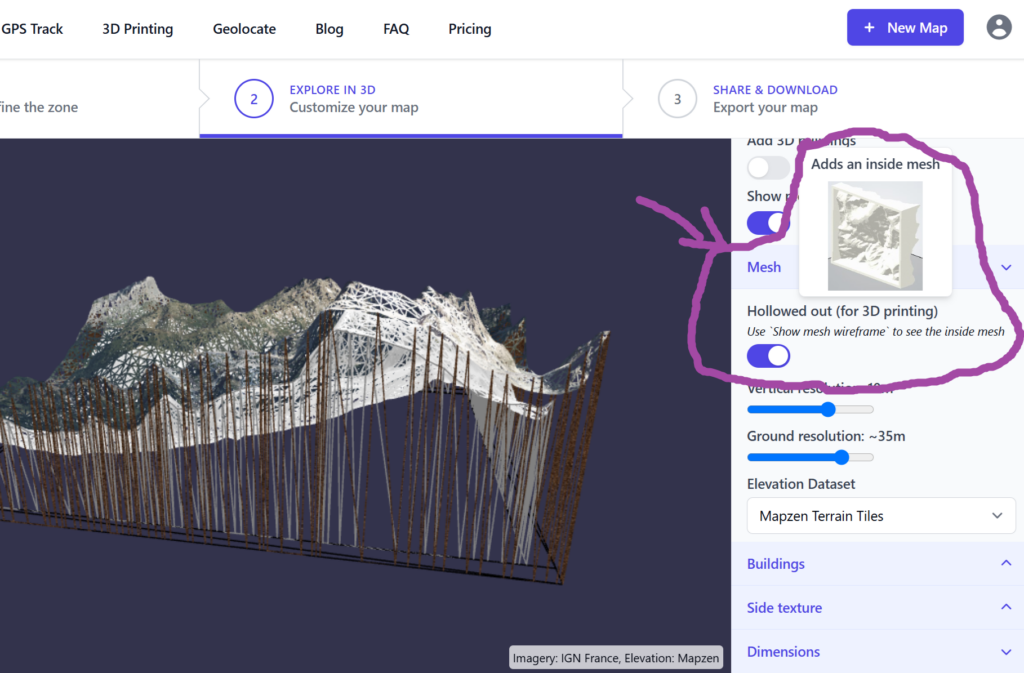
When printing on a “at home” printer, we would suggest not to use it, as the slicer software will optimize the use of material anyway. This option is very handy if you want to send the file to be printed with a third party manufacturer, we have seen price drop by 50-80% with this option enabled.
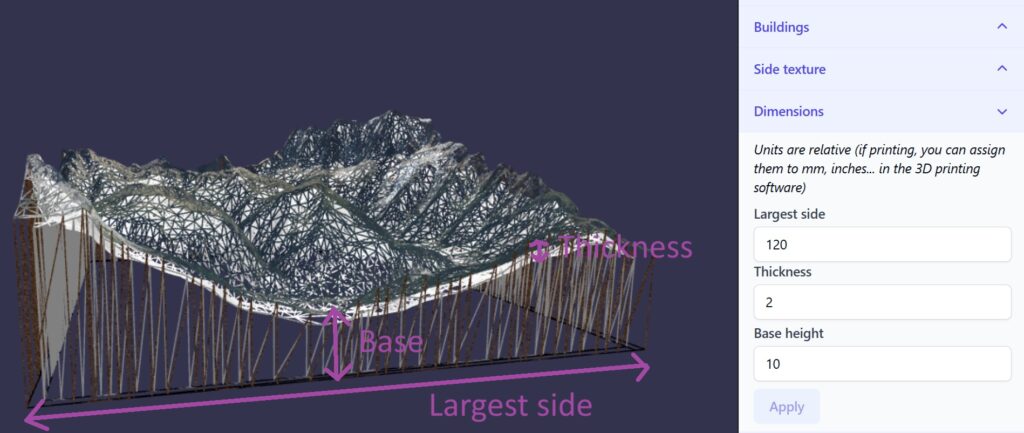
Mesh – Dimensions
You can specify the dimensions of the model under this menu, be aware the units are relative, the real dimensions will be set when using the slicer tool before 3d printing.
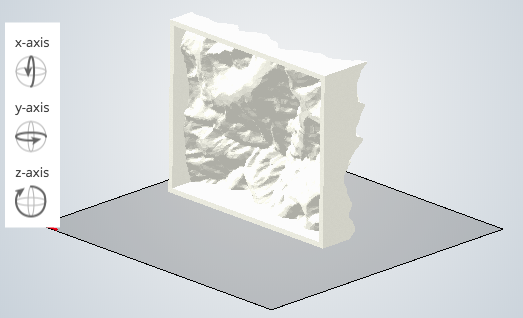
- Base height: height to the lowest point of the surface
- Largest side: dimension of the largest side
- Thickness: available when mesh is hollowed out, thickness of the surface between the outside and inside mesh.
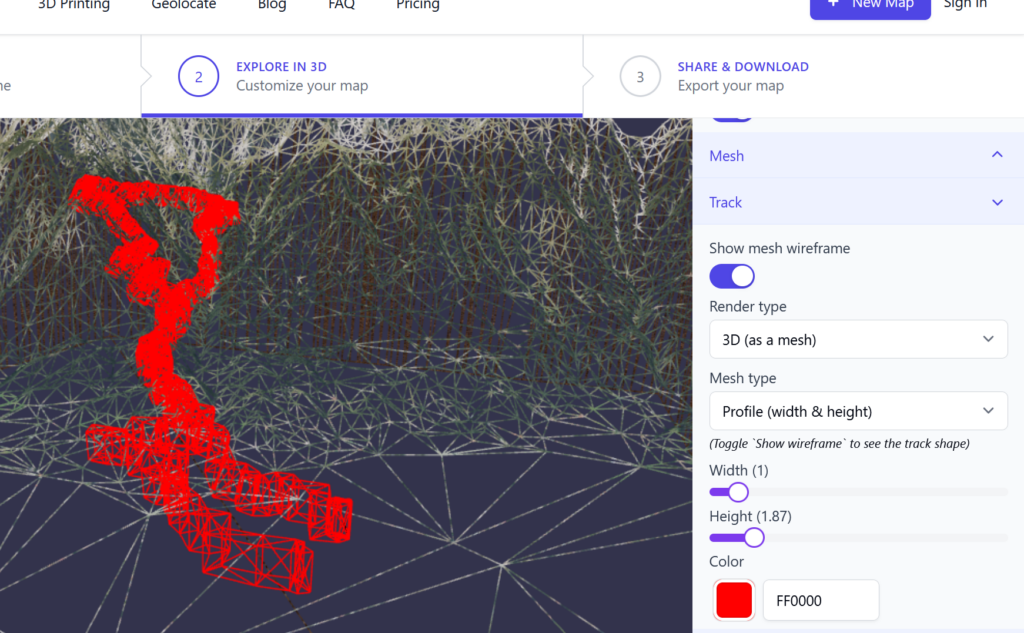
Track
In order to 3D print a track on the map, you need to select “render type” 3D so it has some volume to be printed. You have the option to render it as a Profile or as a Tube.
Export format
You have the choice to export your map in .OBJ or .GLB. Most slicer software will only support .OBJ but we would advice to export in both format so you can have a backup in case you need to post process your map for another use.
Will the imagery be printed ?
Most of the “at home” printers do not have the possibility to print with color. That said some 3D printing services (like shapeways.com) offer a “multicolor” option, which prints the satellite imagery like this